Capcom Snapshots: Palicoes
Mar 14, 2025 // David Poole
These Capcom Snapshots are just purrfect!
Two weeks ago, to celebrate the launch of Monster Hunter Wilds, we asked you to show us pictures of your Palicoes. A lot of hunters traveled to the Forbidden Lands and took the time to show off their favorite furriends, and it was difficult to narrow it down. Because of that, we decided that all selections would be from Monster Hunter Wilds, so you can check them out below!
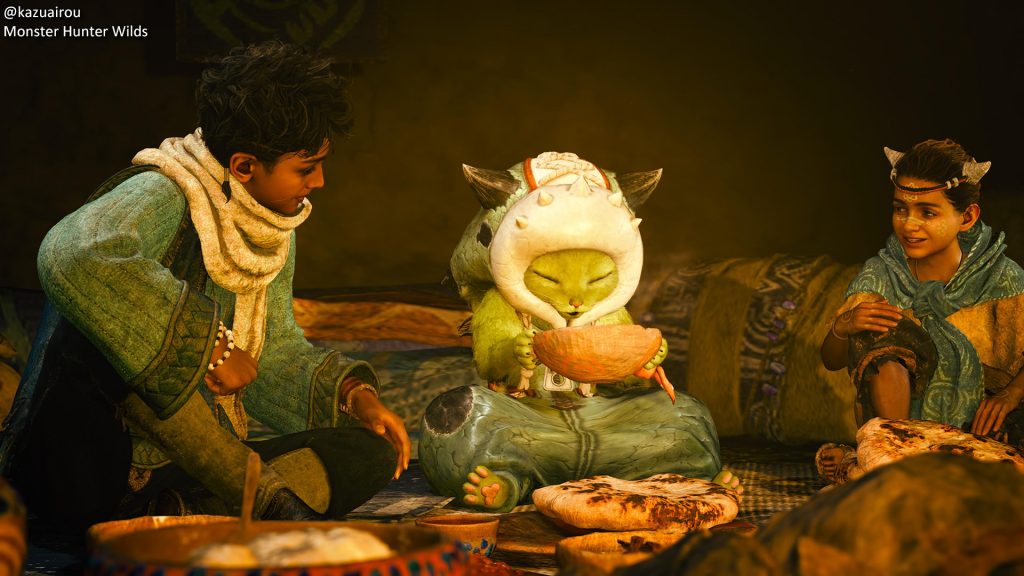
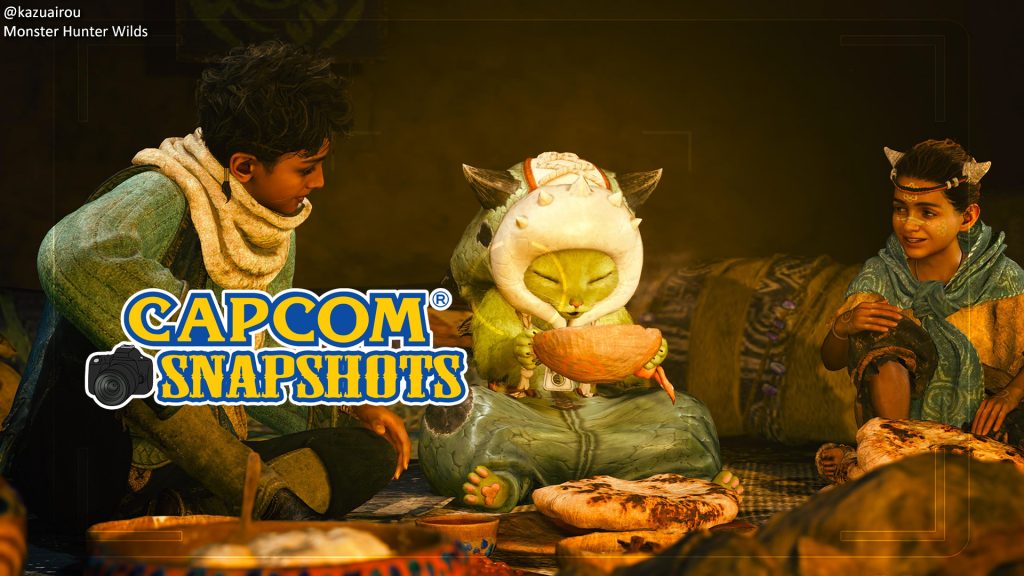
kazuairou gets things started with a hearty meal for their Palico. Gotta eat up before a hunt!
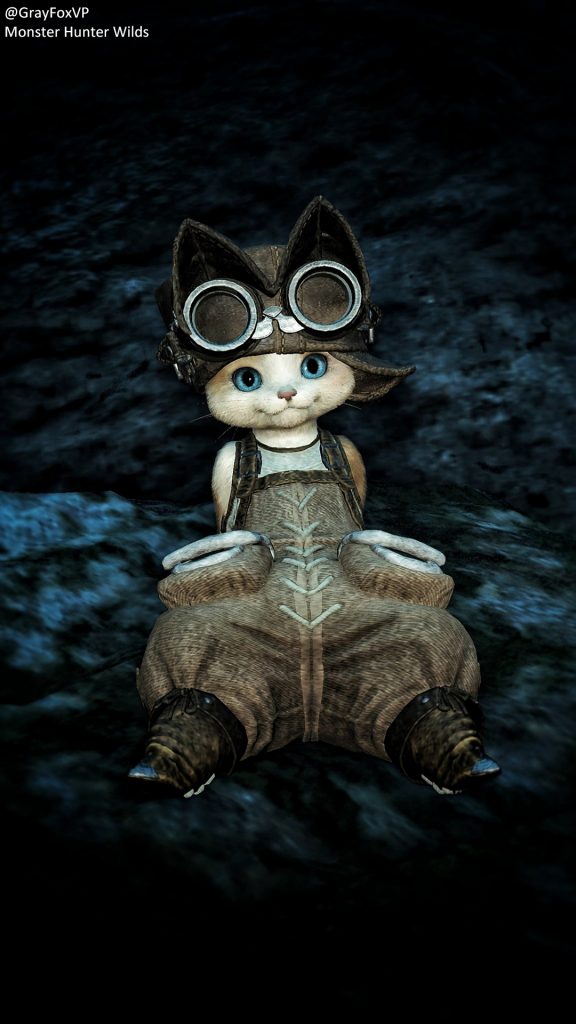
GrayFoxVP takes a photo of this pleasant Palico. Not a single look of concern on that face!
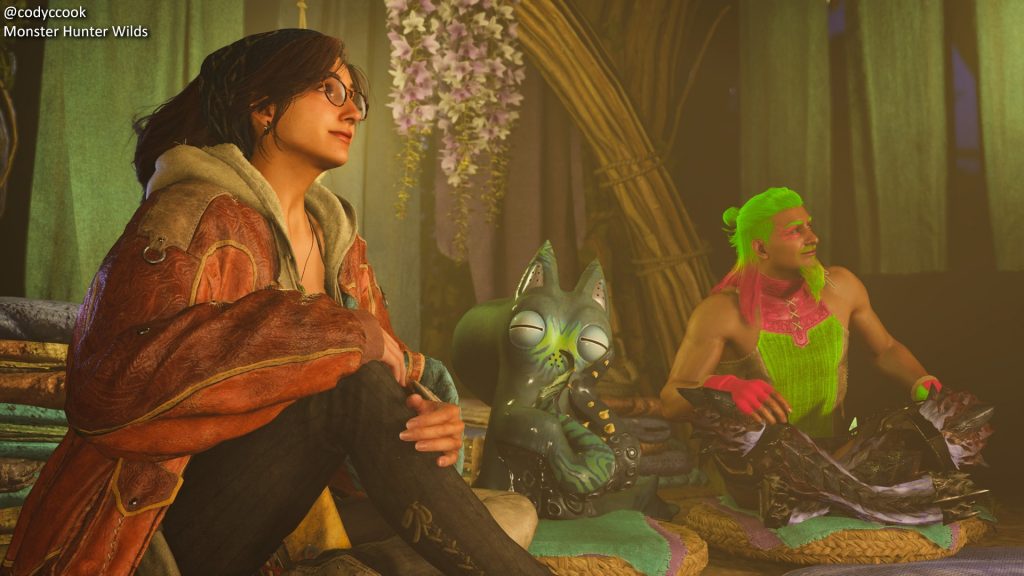
codyccook is just casually showing the effects of having your custom Palico in a cutscene.
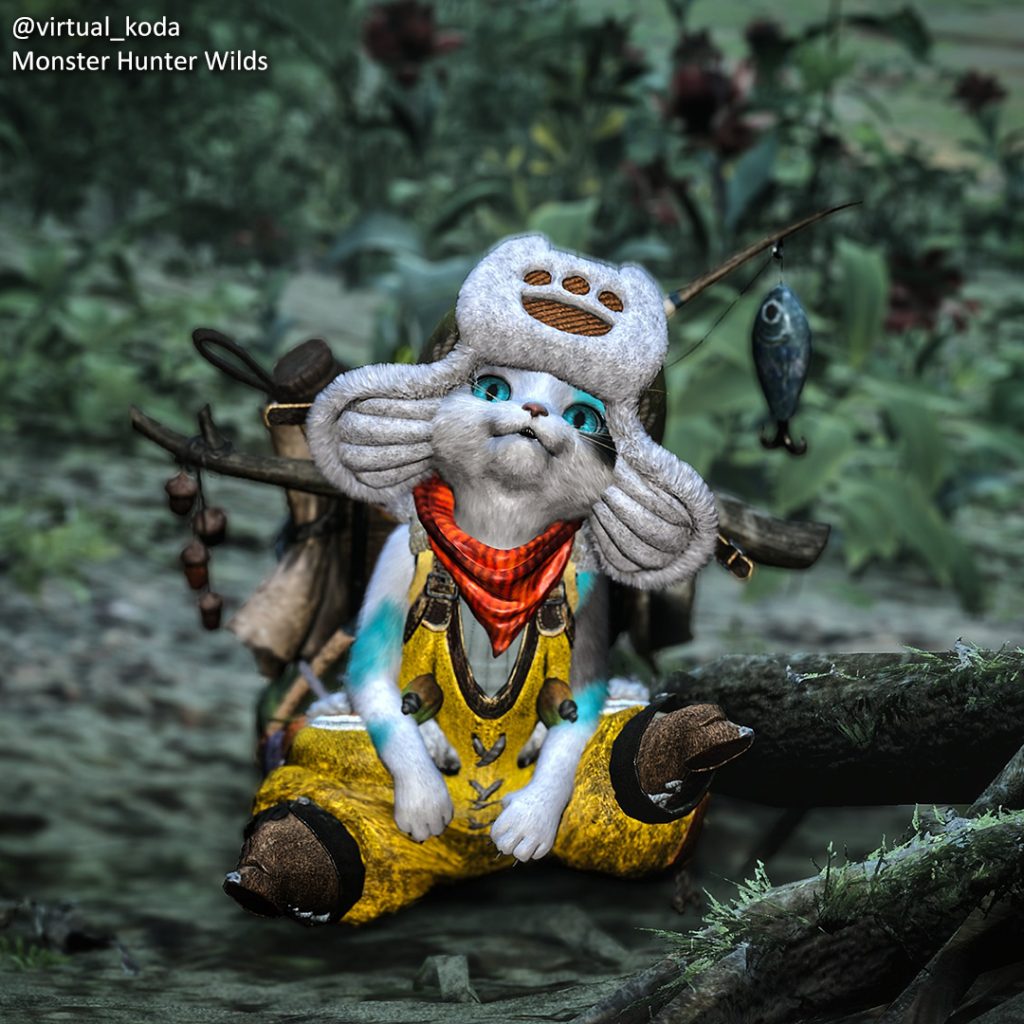
virtual_koda snaps a candid photo of this cool Palico as it sits happily and ever ready for a hunt.
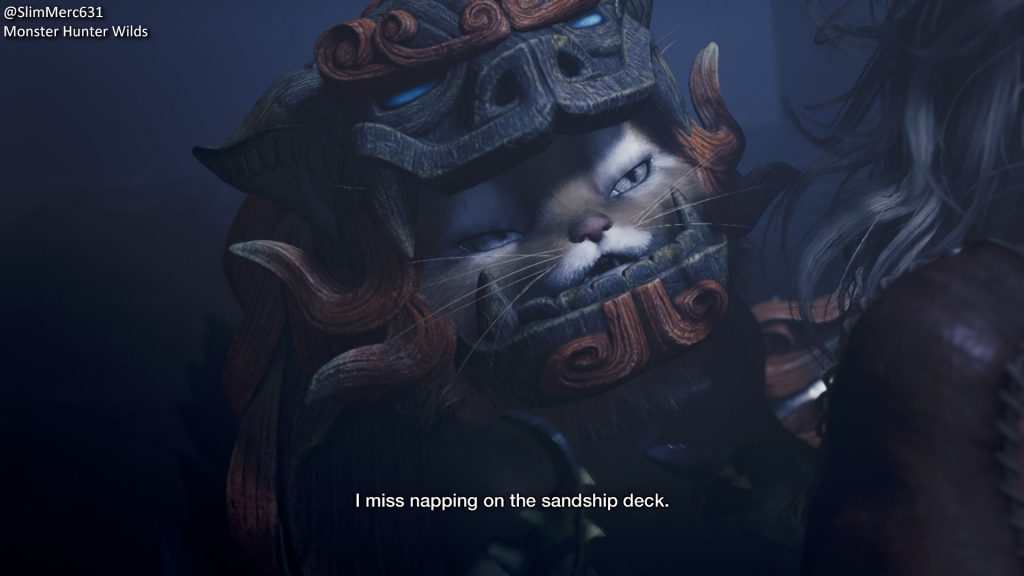
SlimMerc631 catches this Palico saying what a lot of us are probably thinking.
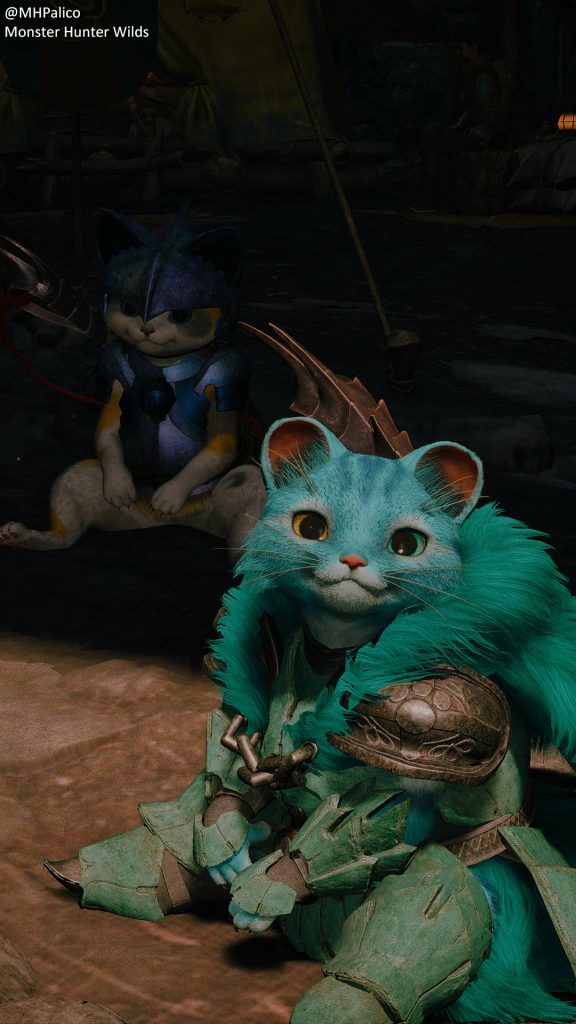
MHPalico closes things out with a photo of this colorful Palico (with another clawesome buddy chilling in the back). It’s like those eyes are telling us they don’t want this to end.
Search #CapcomSnapshots on Twitter/X, Instagram, Facebook, and Bluesky to find even more of our amazing entries.
Want to be featured in our next bi-weekly spotlight? In order to be eligible, please be sure to follow the guidelines below:
1. Images must be your own from a Capcom game.
2. No explicit content.
3. Images cannot be altered or feature modified content.
4. Images must not contain any personal information.
By using the #CapcomSnapshots tag, you grant us permission to share your content and social media handle on our website and social media channels.
Next theme: Seikrets!
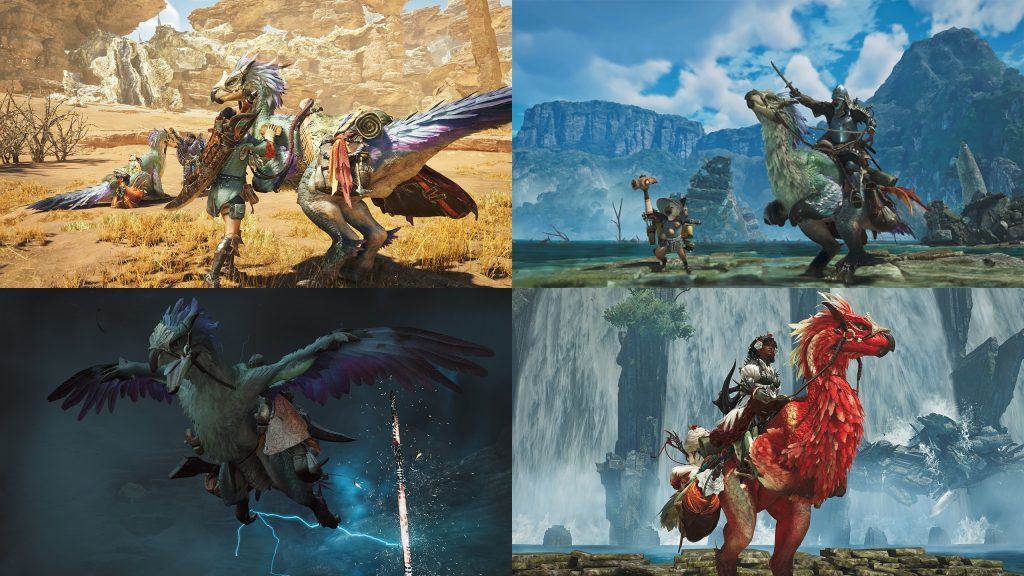
We’re keeping the Monster Hunter Wilds train going, so this time we want to see those faithful and feathery companions, your trusty Seikrets! Show us your own personal Seikret or maybe catch a baby Seikret in an adorable candid. Please share your in-game photos by 11:59 AM Pacific on Wednesday, March 26 using the hashtag #CapcomSnapshots for a chance to be featured in our next spotlight. Your Seikret is safe with us!